Well!!, this is my first post and now i’ll show you how to create an API REST in NodeJS in a simple steps, we take about 30 min or less to create, if you have some knowledge about javascript it becomes easy to understand all the code.
Let’s Start!!!
Table of contents
Open Table of contents
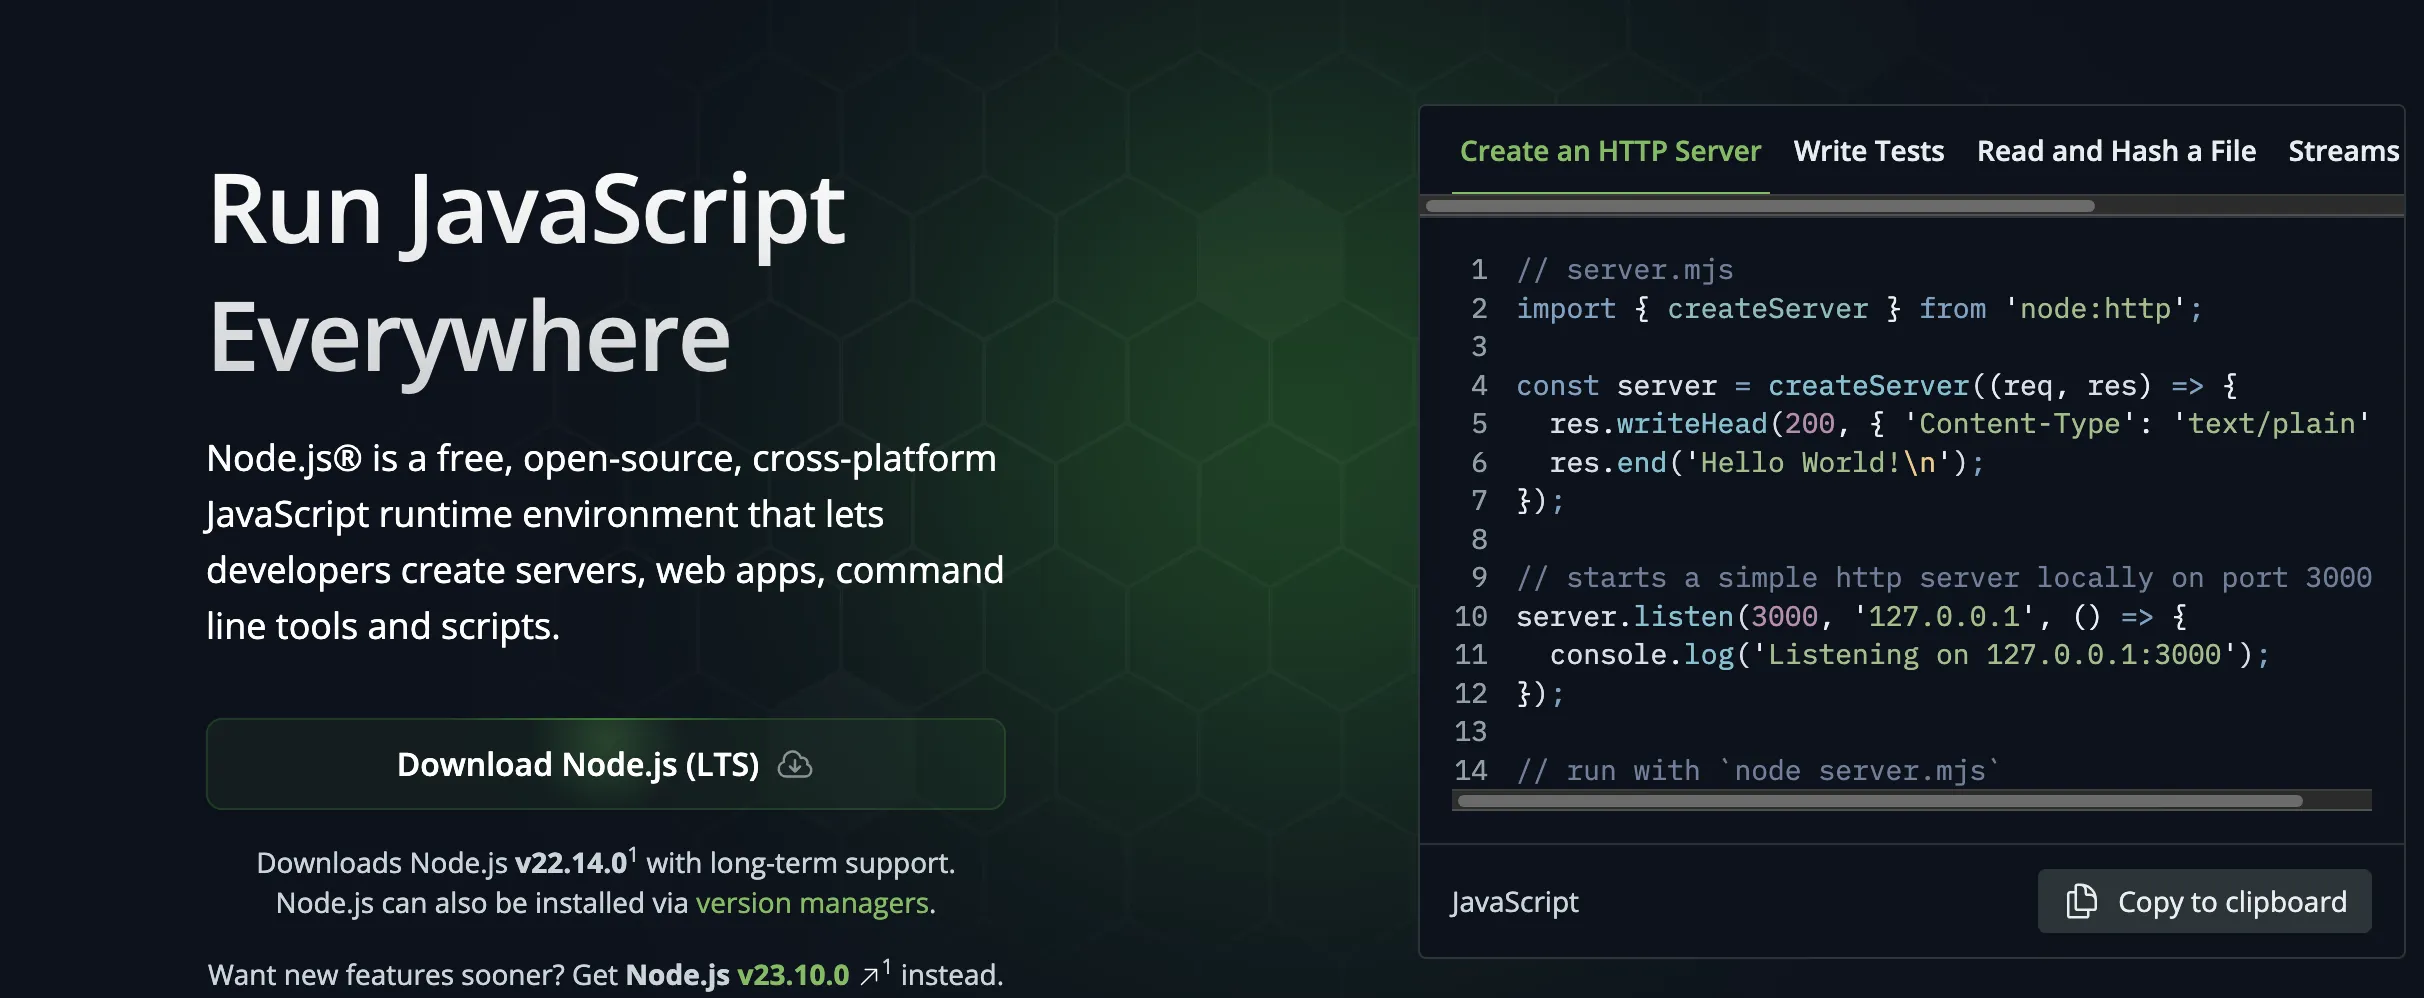
Install NodeJS
The first step is to install NodeJS in your computer, you found the installer in the official website NodeJS Official, download the correct installer for you operating system.
Create the Project
After install NodeJS in your computer you could start with the project, first you need to create the NodeJS project, so you start creating a folder and then execute the following code in the terminal or cmd:
npm initAfter you follow all the configuration steps by NodeJS next is install all the dependencies we need.
npm install body-parser --save
npm install cors --save
npm install express --save
npm install mysql --save
The ‘MySQL’ dependency, you can change for your preferred database.
Files
We need to create a file called ‘server.js’ and change in the ‘package.json’ main property to this file name because there is set to ‘index.js’.
Dependencies
We need to add the following dependencies to make work our API.
NOTE: I’ll use MySQL as database provider.
NOTE 2: I’ll create an API that make CRUD functions to the ‘sakila’ database in MySQL Server.
var express = require('express');
var app = express();
var bodyParser = require('body-parser');
var mysql = require('mysql');
const cors = require('cors');
Initialization
Here we need to initialize some dependencies that i will use later in the API.
NOTE: I suppose you’ll have some knowledge about javascript, so i avoid the obvious parts about the code and explain the important things.
app.use(bodyParser.json());
app.use(cors());
app.use(bodyParser.urlencoded({
    extended: true
}));
API Configuration
Now will add all the API functions, in this point the users and the API will can communicate between each other.
Default Route
// default route
app.get('/', function(req, res) {
    return res.send({ error: true, message: 'hello' });
});
One thing to explain about this is return a JSON object standarized in all the responses, because i think we have more control about the data the user gets.
NOTE: the JSON is:
{ error: true, data: data, [value1:value1,...] }This is the default route, if you need add in the code JWT token initialization for API authentication or some message to check if the user connects and get data from the API correctly.
MySQL Configuration
Here you can change to you’re preferred database.
// connection configurations
var dbConn = mysql.createConnection({
    host: 'localhost',
    user: 'admin',
    password: 'root',
    database: 'sakila'
});

// connect to database
dbConn.connect();
In the createConnection just add the login information for the database, and open the connection.
NOTE: the database i use is sakila from the example data installed in MySQL server, and the table i work is staff.
Get User
This first entry point in our API is to do a simple login in our application, and is not neccesary you add or maybe you have a better idea to do a user login.
send me an email(demg@outlook.com) to share your solution fo this part.
// Retrieve user with username
app.get('/user/:username&:password', function(req, res) {
    const username = req.params.username;
    const password = req.params.password;
    if (!username) {
        return res.status(400).send({ error: true, message: 'Please provide username' });
    }
    dbConn.query('SELECT * FROM sakila.staff WHERE username="' + username + '" AND password="' + password + '";', function(error, results, fields) {
        if (error) throw error;
        if (results.length > 0) {
            return res.send({ error: false, data: results[0], username, password });
        } else {
            return res.send({ error: true, data: results[0], username, password });
        }
    });
});
Check this code i use ‘req.params.YOUR_PARAM’ to get the parameter send in the API call, like you see is easy to get the data, one important thing is you can send in JSON format if you do a POST.
Here as you see is just a GET request, maybe is unsecure but you would use a POST because we send a private data, but this is for learning and i want to show you how you have to pass some parameters in a GET request.
Like you see the connection to the database is simple like the query string and set the data i need.
Get all users
Now we add the entry point to get all the users in the database, check the following code:
// Retrieve all users
app.get('/users/', function(req, res) {
    dbConn.query('SELECT * FROM sakila.staff', function(error, results, fields) {
        if (error) throw error;
        if (results.length > 0) {
            return res.send({ error: false, data: results });
        } else {
            return res.send({ error: true, data: results });
        }
    });
});
As you see is a simple select from all the table and get all the data inside.
Get user by Id
This part is in case you need to get just one user instead of all.
// Retrieve user with id
app.get('/user/:staff_id', function(req, res) {

    let user_id = req.params.staff_id;

    if (!user_id) {
        return res.status(400).send({ error: true, message: 'Please provide user_id' });
    }

    dbConn.query('SELECT * FROM sakila.staff where staff_id=?', user_id, function(error, results, fields) {
        if (error) throw error;
        if (results.length > 0) {
            return res.send({ error: false, data: results[0], user_id });
        } else {
            return res.send({ error: true, data: results[0], user_id });
        }
    });
});
Simple like that, we get a user with the id.
Add User
Now the magic starts here because the previous code is just for get data but now we go to add a new user into table.
Now use the POST action in the HTTP call to send the private data more secure.
NOTE: For more standardized and more maintainable API code i will receive a JSON object with the user information and then insert directly the object into the database.
// Add a new user
app.post('/add', function(req, res) {
    let user = req.body;
    console.log("add user");

    if (!user) {
        return res.status(400).send({ error: true, message: 'Please provide user' });
    }

    dbConn.query("INSERT INTO sakila.staff SET ? ", user, function(error, results, fields) {
        if (error) throw error;
        return res.send({ error: false, data: results, message: 'New user has been created successfully.' });
    });
});
Now in this part the most difficult to understand is the insert, because we add the complete object into de database, but like you see works correctly and is more easy to maintain this code and solve issues.
NOTE: In this part i can’t check in other database if works like MySQL sending a complete object, please verify with your database provider.
Update User
As you see in the previous code in this is the same thing, but we use the PUT action in the HTTP call instead of the POST action, this is because the PUT call is more relates to update objects instead of create.
//  Update user with id
app.put('/update', function(req, res) {
    let user = req.body;

    if (!user.staff_id || !user) {
        return res.status(400).send({ error: user, message: 'Please provide user and user_id' });
    }

    dbConn.query("UPDATE sakila.staff SET ? WHERE staff_id = ?", [user, user.staff_id],
        function(error, results, fields) {
            if (error) throw error;
            return res.send({ error: false, data: results, message: 'user has been updated successfully.' });
        });
});
Delete user
Now add the code for delete a user using the DELETE action in the HTTP call.
//  Delete user
app.delete('/delete/:staff_id', function(req, res) {

    let user_id = req.params.staff_id;

    if (!user_id) {
        return res.status(400).send({ error: true, message: 'Please provide user_id' });
    }
    dbConn.query('DELETE FROM sakila.staff WHERE staff_id = ?', [user_id], function(error, results, fields) {
        if (error) throw error;
        return res.send({ error: false, data: results, message: 'User has been updated successfully.' });
    });
});
Now all the CRUD actions are complete.
Finishing the file
Now to finish our API server file just need to add at the end of the file the following code:
// set port
app.listen(3000, function() {
    console.log('Node app is running on port 3000');
});

module.exports = app;
In this part just add the port and some log in the console to get notice that all works correctly when run the project.
At this point all the API is complete and now you can run with the following code:
npm startNow you can use your own webpage or other software to make API calls, you should see all the data running and in your database the data modified.
Conclusion
Now you have a complete API REST functionallity to use in all your projects, now your homework is to make secure the API using token authentication and make some improvements or adapt the code for you need.
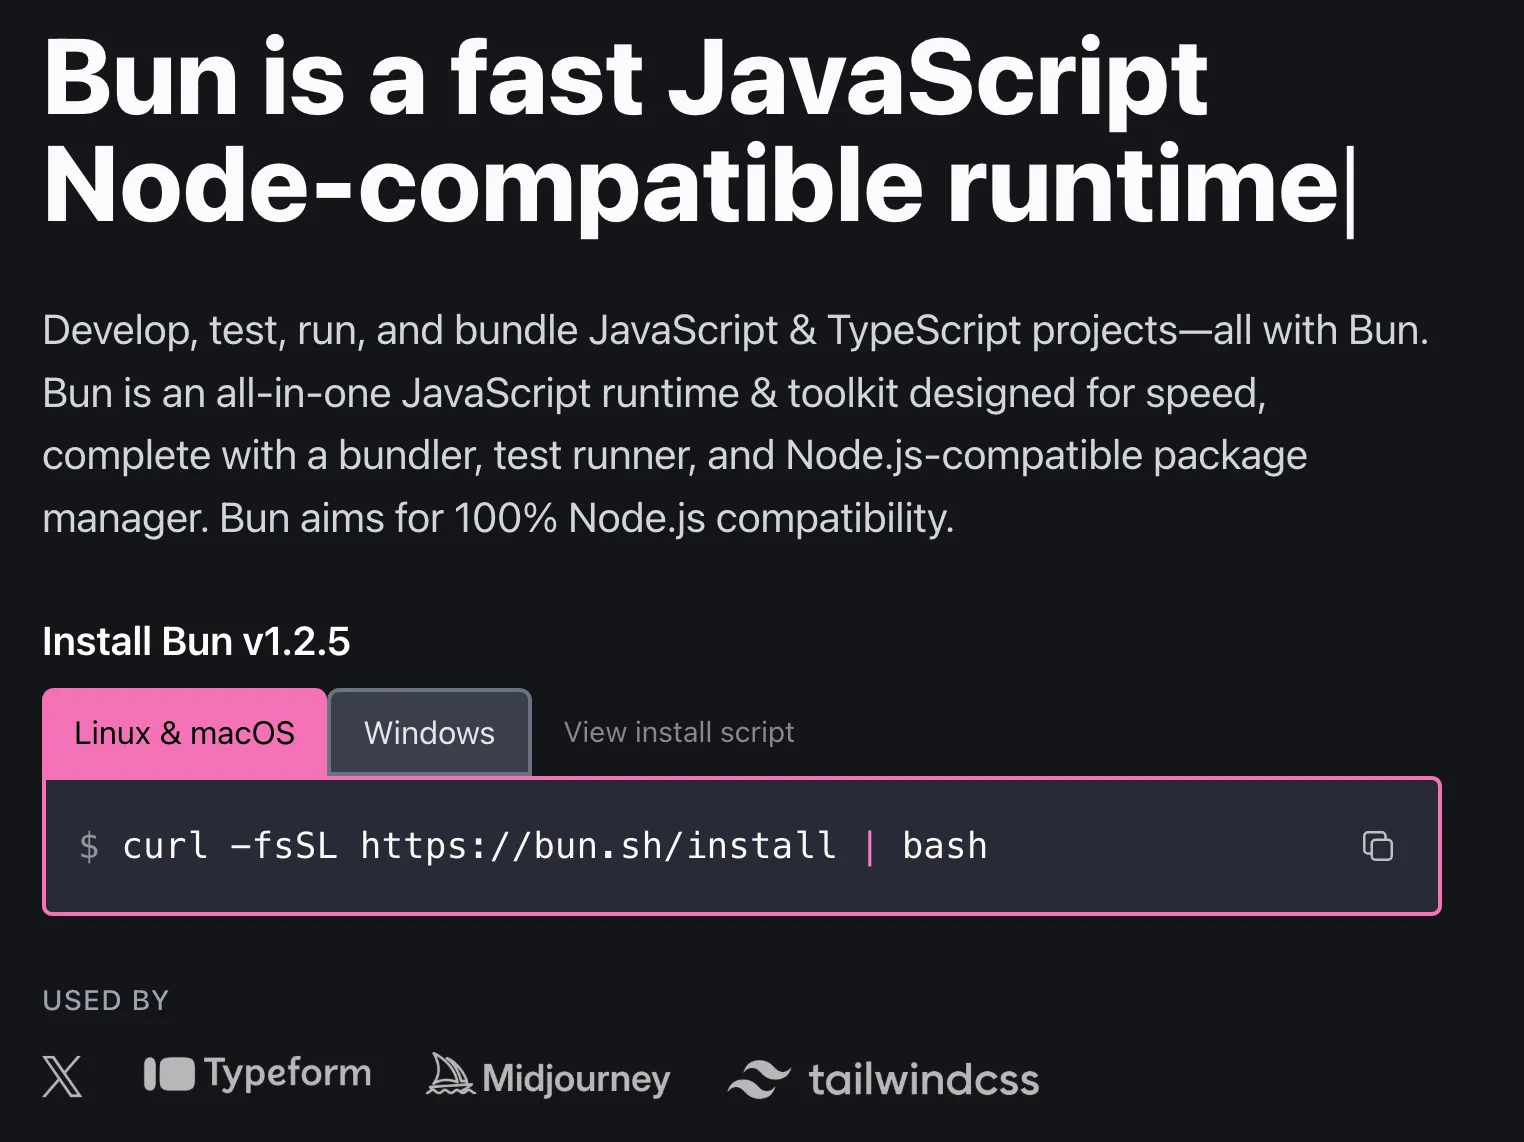
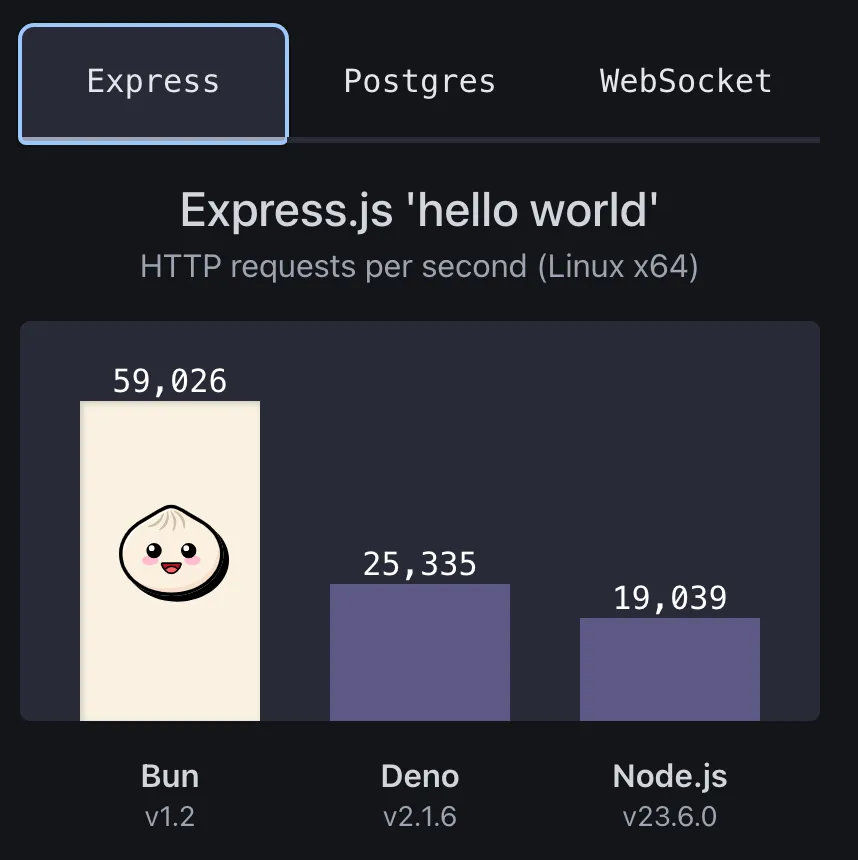
Other suggestion is to add Bun.sh into your proyecto to have a more efficient javascript & typescript projects runtime.
I enjoy to make my first post here and start my dream help the people to enter into this wonderful path.